The pre-trip inspection is the first and arguably the most important part of the Ohio CDL skills test. The pre-trip inspection comes before the basic vehicle control and road tests, and a test-taker who fails the pre-trip inspection can’t move on to the other exam portions.
During the Ohio CDL pre-trip inspection, the test-taker walks the examiner through an inspection of the truck and trailer. For each safety-critical item, the test-taker must name it, point to or touch it, and explain what is being checked. The time limit is a strict 30 minutes. Ohio follows the modernized test model in the Ohio CDL Manual, which lets test-takers carry a blank copy of the official checklist and check items off during the test. No extra notes or markings are allowed on it.
Many test-takers find this part of the test harder than they expect. Common struggle points include:
- Running out of time. Thirty minutes go by fast when a test-taker hesitates or backtracks.
- Pointing without explaining. Pointing out a part is not enough. If the test-taker doesn’t say what is being checked, the item doesn’t count toward their score.
- Skipping half of a check. Some items, like the air and electric lines, must be checked on both the tractor and the trailer.
- Forgetting the air brake numbers. Any mistake in the air brake check is an automatic failure.
- Test-takers who know the material can still sometimes freeze with an examiner watching.
The pre-trip inspection matters long after test day. Federal and state laws require drivers to inspect their vehicles every trip, and an unsafe truck can be placed out of service. Napier instructors teach the pre-trip until it’s almost muscle memory, because a driver who inspects the truck the same way every day is far more likely to catch a problem early.
The Ohio CDL Pre-Trip Inspection, Step by Step
The list below is in the order of the official Class A checklist used by Ohio examiners. Test-takers should chock the wheels before starting. When getting in or out of the cab, the test-taker must set the parking brake, put the truck in neutral, face the truck, and keep three points of contact.
1. In-Vehicle and Engine Start
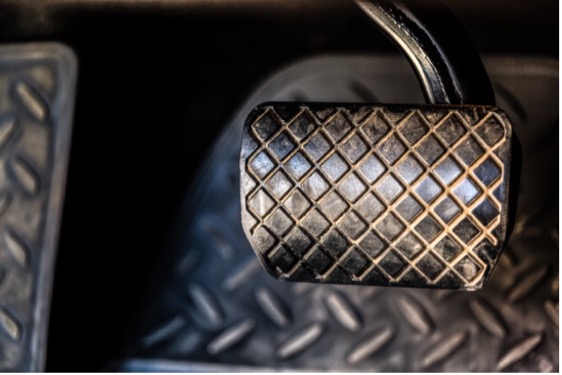
- Air brake check: The test-taker completes the four-part air brake check, covered in the next section. Any mistake here is an automatic failure.
- Parking and trailer brake check: With one brake set at a time, the test-taker gently pulls forward to show that the parking brake and then the trailer brake are holding the truck.
- Service brake check: The test-taker pulls forward at about 5 mph, presses the brake pedal, and confirms that the truck stops firmly without pulling to either side.
- Lighting indicators: The test-taker checks that the dash indicator lights for the turn signals, four-way flashers, and high beams work. The test-taker also confirms that the ABS light, the trailer ABS light on the rear driver’s side, and the DEF light come on at startup and then go off.
- Emergency equipment: The test-taker points out three red reflective triangles, a charged and secured fire extinguisher, and spare fuses (or says that the truck uses circuit breakers).
- Windshield and traffic monitoring devices: The test-taker checks that the windshield is clean, with no cracks or stickers other than an inspection sticker. The test-taker also confirms that mirrors and any cameras are clean and adjusted.
- Wipers and washers: The test-taker checks that the wiper arms and blades are secure and undamaged, then turns on the wipers and washers to show they work.
- Heater and defroster: The test-taker turns on both the heater and defroster to show they work.
- Horn: The test-taker tests the air horn, the electric horn, or both if appropriate.
2. Lights Operation Check
- All external lights: The test-taker turns on each light and checks it from outside the truck, including turn signals, four-way flashers, low and high beams, clearance and marker lights, taillights, and brake lights. The examiner may help, but the test-taker must say exactly which light to check.
3. Front of Vehicle and Engine Area
- Lenses: The test-taker checks that each lens is clean, the right color, and not cracked, broken, or missing.
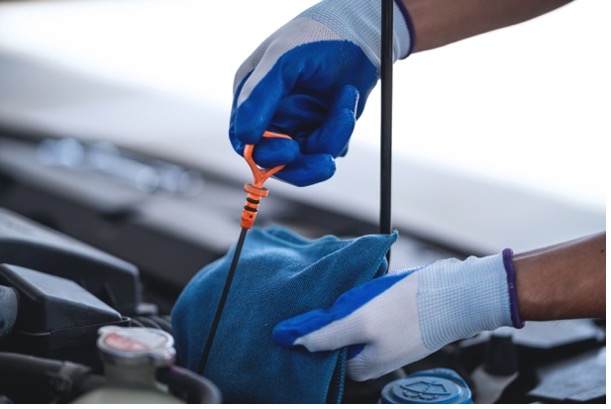
- Fluid levels: With the engine off, the test-taker points to where engine oil, coolant, and power steering fluid are checked and explains that each should be between the add and full marks.
- Fluid and air leaks: The test-taker looks for puddles under the truck, drips around the engine and transmission, and leaking hoses or air lines.
- Steering system: The test-taker checks that the steering box is secure and not leaking. The test-taker then explains that hoses, links, arms, and rods are not cracked, worn, or missing nuts, bolts, or cotter keys.
4. Steering Axle
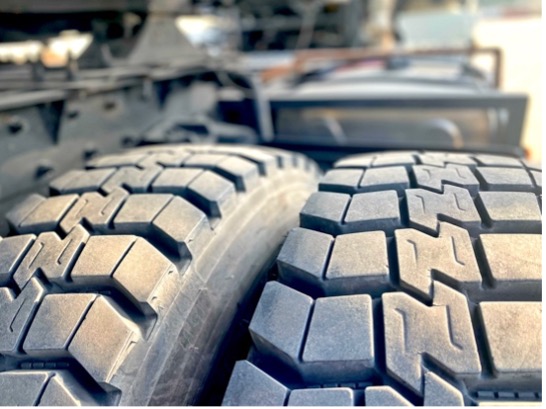
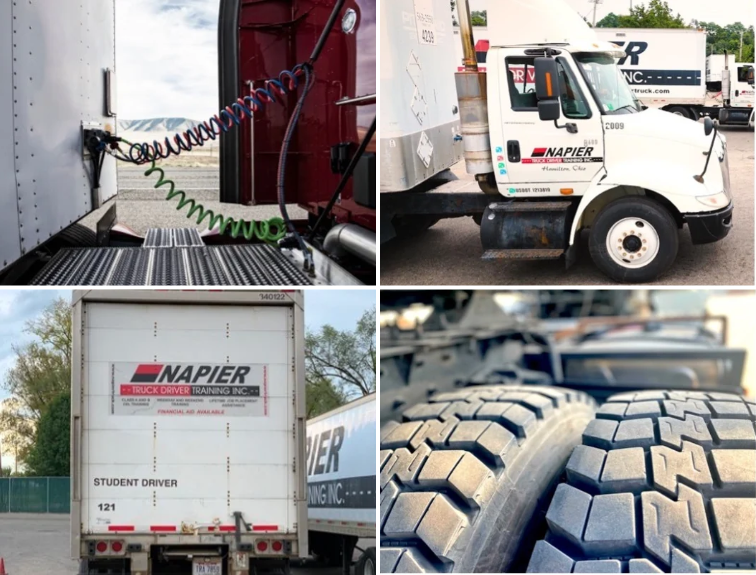
- Tires: The test-taker checks inflation with a tire gauge and looks for cuts, bulges, and damaged valve stems. The test-taker also checks tread depth and explains that steer tires need at least 4/32 inch, and other tires need at least 2/32 inch.
- Rims: The test-taker checks that the rims are not cracked, bent, or repaired by welding.
- Lug nuts: The test-taker confirms that all lug nuts are present and tight, with no rust trails, shiny threads, or broken studs.
- Springs, air bags, and shocks: The test-taker checks that leaf springs are not missing, shifted, or cracked. The test-taker also confirms that air bags and shocks are secure and not leaking, and that the truck sits level.
- Brake lines and hoses: The test-taker checks that lines and hoses are not cracked, worn, or leaking, and that fittings are secure.
- Brake contaminants: Where they are visible, the test-taker checks that the brake linings, pads, and drums are free of grease or oil.
5. Side of Vehicle
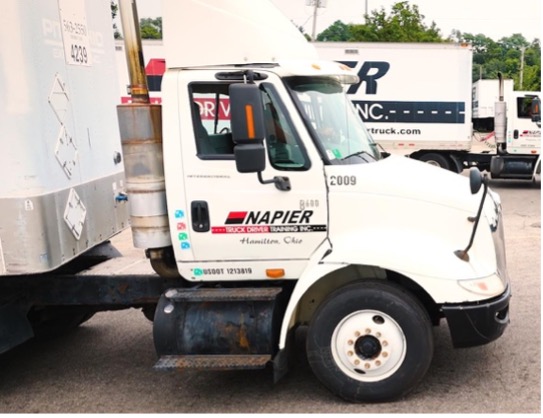
- Lenses and reflectors: The test-taker checks that side lights and reflectors on the tractor and trailer are clean, the right color, and not broken or missing.
- Traffic monitoring devices: The test-taker checks that side mirrors are clean and not cracked, and that the brackets are secure.
- Battery: If the batteries are visible, the test-taker checks that they are secure, with tight connections, no heavy corrosion, and the box cover in place.
- Fuel tank and DEF tank: The test-taker confirms that both tanks are mounted securely, the caps are tight, and there are no leaks.
- Frame: The test-taker checks the frame and cargo floor for cracks, broken welds, or holes, then confirms that the trailer tandem release lever and pins are secure.
6. Coupling System
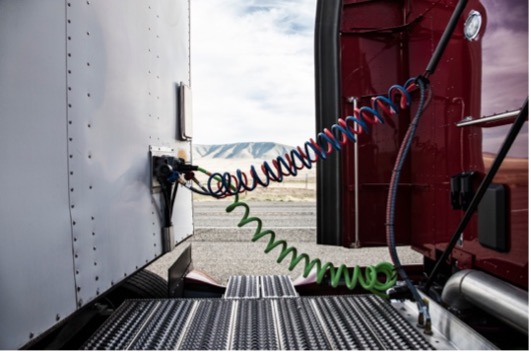
- Air and electric lines and connectors: The test-taker checks that connections are seated, sealed, and locked on both the tractor and the trailer. The test-taker also confirms that lines are not cut, chafed, taped, tangled, or dragging.
- Fifth wheel skid plate: The test-taker checks that the skid plate is securely mounted, free of cracks, and properly greased.
- Kingpin, apron, and gap: The test-taker checks that the kingpin is not bent or worn and that the apron is not cracked. The test-taker then confirms that the trailer sits flat on the fifth wheel with no gap.
- Locking and safety devices: The test-taker confirms that the locking jaws are closed around the kingpin, the release arm is locked, and any sliding fifth wheel pins are fully engaged.
7. Trailer
- Landing gear and clearance: The test-taker checks that the landing gear is fully raised, with no missing parts and a secure crank handle. The test-taker also confirms that the tractor frame will clear the landing gear during turns.
- Reflective tape: The test-taker checks that reflective tape is present and firmly attached on the sides and rear of the trailer.
8. Rear of Trailer
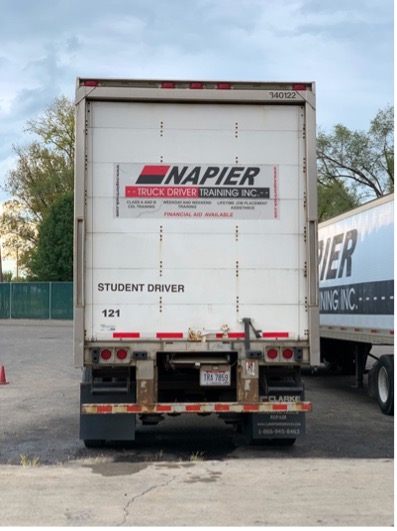
- Lenses and reflectors: The test-taker checks that rear lights and reflectors are clean, the right color, and not broken or missing.
Air Brake Inspection Breakdown
The air brake check is the one part of the pre-trip inspection that can end the test on its own. The test-taker must explain and perform all four parts correctly, out loud, and should know the manufacturer’s numbers for the test truck.
Before starting: The wheels are chocked, and the engine is running.
Part 1, Air gauge and governor cutoff: The test-taker shows that air pressure builds to governor cutoff, usually about 120 to 140 psi, and names the cutoff pressure for that truck.
Part 2, Air leakage rate: The test-taker shuts off the engine, turns the key back on, and releases the parking brake and tractor protection valve. After the gauge settles with the brake pedal fully pressed, the test-taker holds the pedal for one minute. A combination vehicle should not lose more than 4 psi (3 psi for a single vehicle).
Part 3, Low air warning: With the engine off and the key on, the test-taker pumps the brake pedal to lower the air pressure. The low air buzzer and light must come on before pressure drops below 55 psi.
Part 4, Emergency brake: The test-taker keeps pumping the brake pedal. On a tractor-trailer, both the parking brake valve and the tractor protection valve should pop out between 20 and 45 psi.
Pre-Trip Inspection Study Tips
These methods help students lock in both the order and the explanations.
Walk the same path every time. The checklist moves from the cab to the lights, to the front of the truck, down the side, through the coupling, and to the back of the trailer. Practicing in the same order builds muscle memory.
Use one phrase for many parts. Many items are checked for the same things. A phrase such as “mounted, secure, not cracked, not leaking” works for the steering box, air bags, fuel tank, and more. Students then add one detail that fits each part, such as “checked with a tire gauge” for a tire.
Turn the air brake check into a sentence. The four parts are governor cutoff, leakage rate, low air warning, and emergency brake. The sentence “Good Leaders Warn Early” matches the first letter of each step. Students can pair it with the numbers in order: 120 to 140, then 4, then 55, then 20 to 45.
Practice out loud. The test is spoken, so practice should be too. Students can explain the inspection to a friend or record themselves on a phone and listen for missed items.
Study one section at a time. Students can work on one section per day, then run through everything from the start before adding the next one.
Time every practice run. Timed practice shows where a student slows down, so they can fix those spots before test day.
Learning the Pre-Trip Inspection at Napier
Pre-trip inspection training is built into Napier’s Class A CDL training program. The full-time program runs five weeks, with 80 hours of classroom instruction and 120 hours of hands-on, behind-the-wheel training. Weekend CDL training is also available.
Napier instructors and owners teach the pre-trip inspection on campus in Napier’s trucks. Students learn each item in the classroom, then practice the full inspection on the truck, out loud, following the official checklist order. Instructors focus as much on the explanations as the parts, since an item only counts when the test-taker explains it.
Training also covers the federal Entry-Level Driver Training (ELDT) requirements that must be met before scheduling the skills test. During the first two weeks, students prepare for the Ohio CDL permit test, including the air brakes knowledge test, which gives them a head start on the air brake check.
Next Steps
The Ohio CDL pre-trip inspection requires test-takers to inspect and explain every checklist item in 30 minutes, and any air brake mistake ends the test. Students who follow the checklist order, practice out loud, and time their practice runs have the best chance of passing on their first try.
Anyone ready to learn the pre-trip inspection with hands-on help can explore Napier’s CDL training programs, review financial aid options, or contact the admissions team to get started.
Frequently Asked Questions
What is the best way to study the pre-trip inspection?
The best way is to practice the full inspection out loud on a real truck, in the same order every time. Hands-on practice with an instructor helps students learn both the parts and the explanations.
What are the 7 steps for a pre-trip inspection?
A vehicle overview, checking the engine compartment, starting the engine and inspecting inside the cab, turning off the engine and checking the lights, doing a walk-around inspection, checking the signal lights, and starting the engine and checking the brakes are the 7 steps of a pre-trip inspection. Ohio’s skills test uses its own checklist, but the seven steps build a strong daily habit.
What item is most commonly overlooked during a pre-trip inspection?
The trailer side of the air and electric connections is one of the easiest items to miss. Test-takers must check the connections on both the tractor and the trailer to get credit.
Does the Ohio pre-trip inspection test require inspecting every axle?
No. Test-takers only need to inspect one axle during the test, but they should be ready to inspect any axle the same way.
Does a test-taker have to crawl under the truck during the pre-trip test?
No. Test-takers can check for leaks and damage by looking under and around the truck without crawling beneath it.
Do drivers still need to do pre-trip inspections after getting a CDL?
Yes. Federal and state laws require drivers to inspect their vehicles, and an inspector can place an unsafe truck out of service until it is fixed.